Create Accounts automatically in your QuickBooks Online
From now, create Accounts automatically in your QuickBooks Online account, using Business Importer. Through the example of Bills import into QuickBooks Online.
Good news! Enjoy a new function in our cloud application for QuickBooks Online – Business Importer. All Accounts can be created automatically in your QuickBooks Online account together with transactions import. How to use this new function, read in the article (through the example of Bills import into QuickBooks Online).
To create Accounts automatically, follow simple steps:
- Start your ordinary transactions import into QuickBooks Online with Business Importer.
- Check the results – go to the Scheduled imports tab and open the last import log.


In the Import log you will see, if some accounts were not found in your QuickBooks Online.

3. Instead of going back to your QuickBooks Online account and creating manually all new accounts, use our new function in Business Importer.
How to enable a new Accounts Autocreation function:
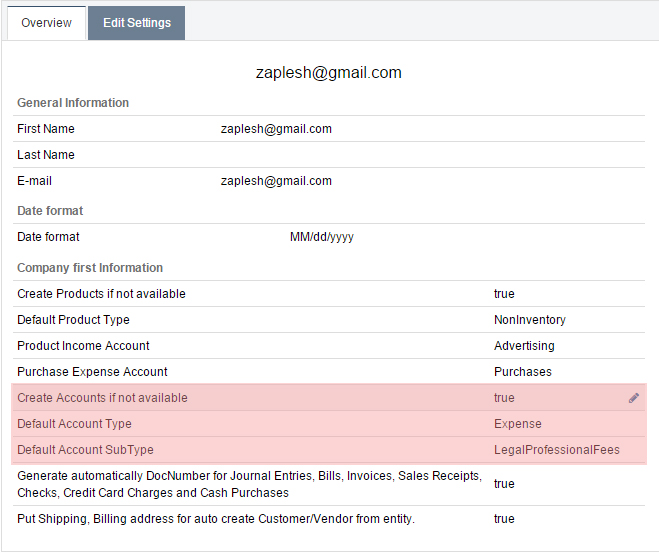
– Go to Settings in your Business Importer Account and switch the line Create Accounts if not available to On.
– Choose Default Account Type for your accounts in the current import (for Bills import into QuickBooks Online) – Expenses) and Default Account SubType.
– Click on the Update button.
4. Start your Import from the beginning. Read how to import Bills into QuickBooks Online.
5. When the import is finished, check the results at Import log – all transactions will be imported and all new Accounts will be created.

Remember, that any question you can address us. We will be glad to help you!
Just leave us a message, call us on (302) 261-3644 or write to support@cloudbusinessltd.com.
![]()